While many newer home exteriors are clad with vinyl siding, many older homes still have aluminum siding. Or, for homes with traditional wood clapboards, metal guards may have been used to protect corners. In addition, while vinyl gutters and downspouts are common, many older homes have gutters and downspouts made of either aluminum or in some instances, steel. Metal flashing is also used to insure water does not infiltrate a house through roof edges or penetrations through the roof (e.g., chimneys, stack pipes, etc.). In other words, painting a home exterior often means having to paint a metal surface along the way.
Preparation for Metal Surfaces
Before painting a metal surface — as with any other surface — it’s best to prepare the metal to insure you get the best adhesion of your paint. For metal surfaces this typically means any loose or flaking paint has been removed and the surface is free of any other contaminants such as dirt, grease, or oil. For bare metal, a light sanding with a higher grit sandpaper (200 – 240 grit) to create some texture is advised. Then, it’s best to apply a coat of primer before applying a top coat.
Use Oil-Based Primer and Paint on Metal Surfaces
Oil-based primers and paints (also known as enamel paints) are generally considered the best type of paint for a metal surface. Oil-based primers and paint adhere better to metal and dry to a hard, protective finish. If using an oil-based primer on a metal surface, a top coat of a latex paint can be applied — it’s not necessary to use an oil-based paint along with the oil-based primer.
Best Weather Conditions to Paint Exterior Metal Surfaces
As oil-based paints take longer to dry, it’s best to schedule the painting when conditions are likely to be dry for several days in a row with a predominance of overcast skies. Painting in direct sunlight can cause the paint to dry too quickly making it more probable the paint will fail.
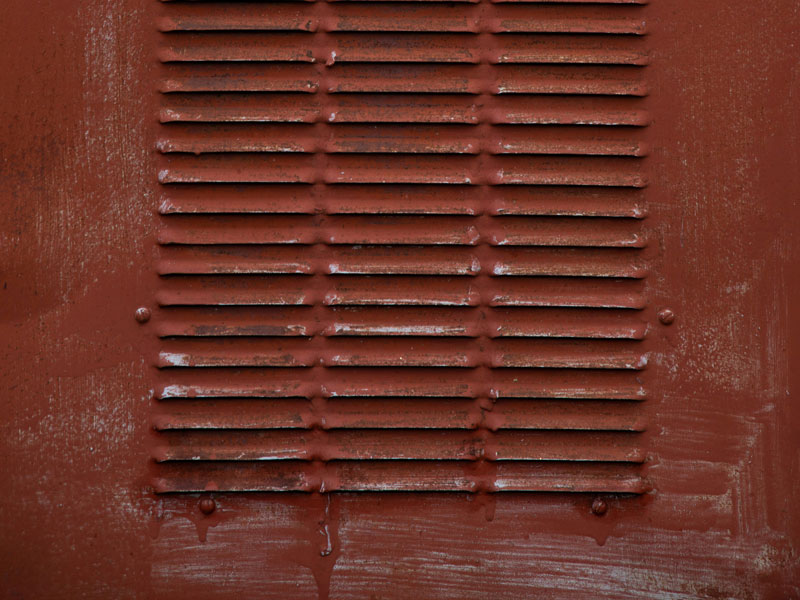
Photo by Benjamin Lehman on Unsplash

